Mother’s Day Pink Velvet Cake
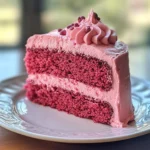
Celebrate the special women in your life with this enchanting Mother’s Day Pink Velvet Cake. If you’re looking for a show-stopping dessert that’s as delightful to eat as it is to look at, you’ve come to the right place! This cake is not just about its gorgeous pink hue; it’s about the love and joy that comes with each slice. Perfect for Mother’s Day or any family gathering, it’s a cake that brings everyone together and creates sweet memories.
The beauty of this Mother’s Day Pink Velvet Cake lies not only in its stunning appearance but also in its soft, fluffy layers infused with cocoa and vanilla. Whether you’re hosting a big celebration or enjoying a quiet evening, this cake adds a special touch to any occasion. Let’s dive into why you’ll absolutely love making this cake!
Why You’ll Love This Recipe
- Easy to Make: With simple steps and straightforward ingredients, even novice bakers can whip this up without stress.
- Family-Friendly: Everyone loves the rich, velvety flavor of this cake—it’s sure to please both kids and adults alike!
- Versatile for Any Occasion: While it’s perfect for Mother’s Day, this cake shines at birthdays, picnics, or just because!
- Make-Ahead Convenience: You can bake the layers ahead of time and frost them just before serving for extra ease.
- Deliciously Decadent: The combination of cocoa and vanilla offers a rich flavor that will have everyone coming back for seconds!
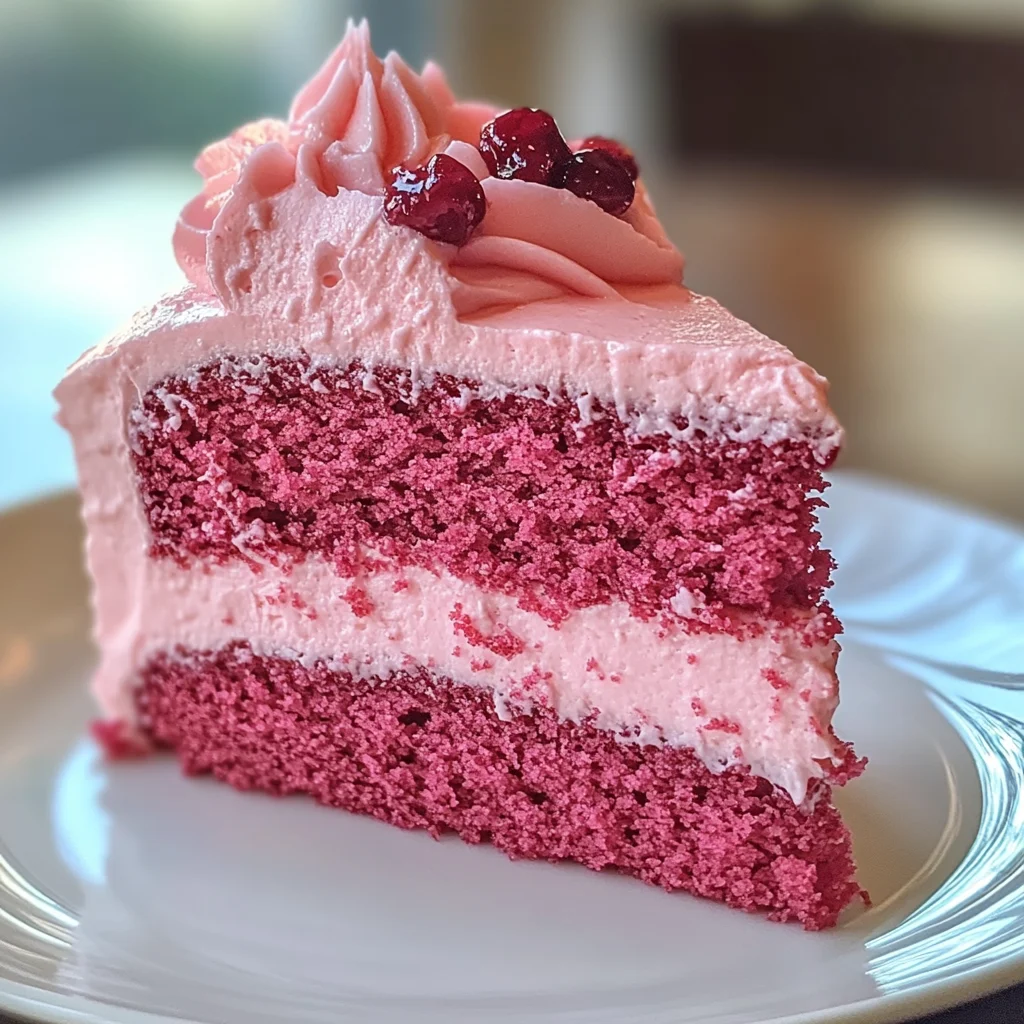
Ingredients You’ll Need
Let’s gather some simple, wholesome ingredients to create this delightful cake! Each one plays a vital role in bringing out that irresistible flavor and texture. Here’s what you’ll need:
For the Cake Layers
- 2 ½ cups cake flour
- 1 ¾ cups granulated sugar
- ½ cup unsweetened cocoa powder
- 1 tbsp baking powder
- ½ tsp salt
- ¾ cup unsalted butter, softened
- 4 large eggs (room temperature)
- 1 cup buttermilk
- 2 tsp pure vanilla extract
- Red food coloring (to achieve desired pink hue)
For the Frosting
- Cream cheese frosting (for topping)
Now that we have all our ingredients ready, let’s move on to some fun variations!
Variations
This recipe is wonderfully flexible! Here are some ideas to make it uniquely yours:
- Swap the liquid: Use yogurt instead of buttermilk for a tangy twist that still keeps the cake moist.
- Add some crunch: Toss in some chopped nuts like walnuts or pecans for added texture throughout the layers.
- Flavor boost: Feel free to add a splash of almond extract along with the vanilla for an extra layer of flavor.
- Top it off: Fresh fruit like strawberries or raspberries can provide a refreshing contrast to the rich cake.
How to Make Mother’s Day Pink Velvet Cake
Step 1: Preheat Your Oven
Start by preheating your oven to 350°F (175°C). Greasing and flouring two 9-inch round cake pans will help ensure your cakes release easily once baked.
Step 2: Mix Dry Ingredients
In a mixing bowl, whisk together your cake flour, cocoa powder, baking powder, and salt. This step is essential as it ensures that your dry ingredients are evenly distributed throughout the batter, leading to a consistent texture.
Step 3: Cream Butter and Sugar
In another bowl, cream together softened butter and granulated sugar until light and fluffy—about three minutes should do it. This process incorporates air into the mixture, giving your cake those lovely fluffy layers.
Step 4: Add Eggs One at a Time
Beat in each egg one at a time. Make sure each one is well incorporated before adding the next. This helps build structure in your cake while keeping it moist.
Step 5: Combine Wet Ingredients
Next, mix in the buttermilk, vanilla extract, and red food coloring until well combined. The red food coloring is what gives our cake its signature pink hue—don’t be shy with it!
Step 6: Fold in Dry Ingredients
Gradually fold in your dry ingredient mixture until everything is smooth. Be gentle here; overmixing can lead to tougher cakes.
Step 7: Bake Your Cakes
Divide the batter between your prepared pans and pop them into the oven. Bake for about 25-30 minutes or until a toothpick inserted comes out clean. The smell wafting through your kitchen will be heavenly!
Step 8: Cool Them Down
Once baked, allow your cakes to cool in their pans for about ten minutes before transferring them to wire racks to cool completely. Cooling properly is important so they don’t sweat when you frost them!
Step 9: Frost Away!
Once cooled completely, frost your lovely cakes with creamy cream cheese frosting. Get creative with how you decorate; maybe add some sprinkles or fresh fruit on top for that extra flair!
And there you have it—a beautiful Mother’s Day Pink Velvet Cake ready to be enjoyed! I hope you love making this recipe as much as I do!
Pro Tips for Making Mother’s Day Pink Velvet Cake
Baking a cake is a joyous experience, and these tips will help you create the perfect Mother’s Day Pink Velvet Cake!
-
Use Room Temperature Ingredients: Ensuring your eggs and buttermilk are at room temperature helps them blend more easily into the batter, resulting in a smoother texture and better rise.
-
Don’t Overmix the Batter: Mixing just until the dry ingredients are incorporated prevents the cake from becoming dense. A light hand ensures that your cake remains fluffy and tender.
-
Check Cake for Doneness: Start checking your cakes a few minutes before the suggested baking time. Every oven is different, and you want to pull them out as soon as they’re perfectly baked.
-
Cool Cakes Completely: Allowing cakes to cool completely on wire racks before frosting prevents melting and sliding of the icing. This also helps maintain the structure of your beautiful layers.
-
Experiment with Flavors: Feel free to get creative! Adding almond extract instead of vanilla or incorporating fresh fruit can enhance flavors and add delightful surprises to each bite.
How to Serve Mother’s Day Pink Velvet Cake
Presenting your Mother’s Day Pink Velvet Cake beautifully elevates its appeal and makes it even more special for your celebration.
Garnishes
- Fresh Berries: Strawberries or raspberries can add a pop of color and freshness, complementing the richness of the cake.
- Edible Flowers: Decorate with edible flowers for an elegant touch that’s perfect for Mother’s Day.
- Chocolate Shavings: A sprinkle of chocolate shavings adds a hint of sophistication and pairs wonderfully with cream cheese frosting.
Side Dishes
- Vanilla Ice Cream: The creamy sweetness of vanilla ice cream serves as a delightful contrast to the rich cake, making each bite even more indulgent.
- Fruit Salad: A refreshing fruit salad brings brightness to your dessert table, balancing out the sweetness of the cake with its natural juiciness.
- Coffee or Tea: Offering coffee or tea alongside this cake enhances its flavors; the warmth complements the creaminess of the frosting beautifully.
- Whipped Coconut Cream: For a dairy-free option, whipped coconut cream adds a luxurious texture that pairs well with the soft layers of cake.
Now you’re ready to bake and serve this stunning Mother’s Day Pink Velvet Cake! Enjoy creating sweet moments filled with love.
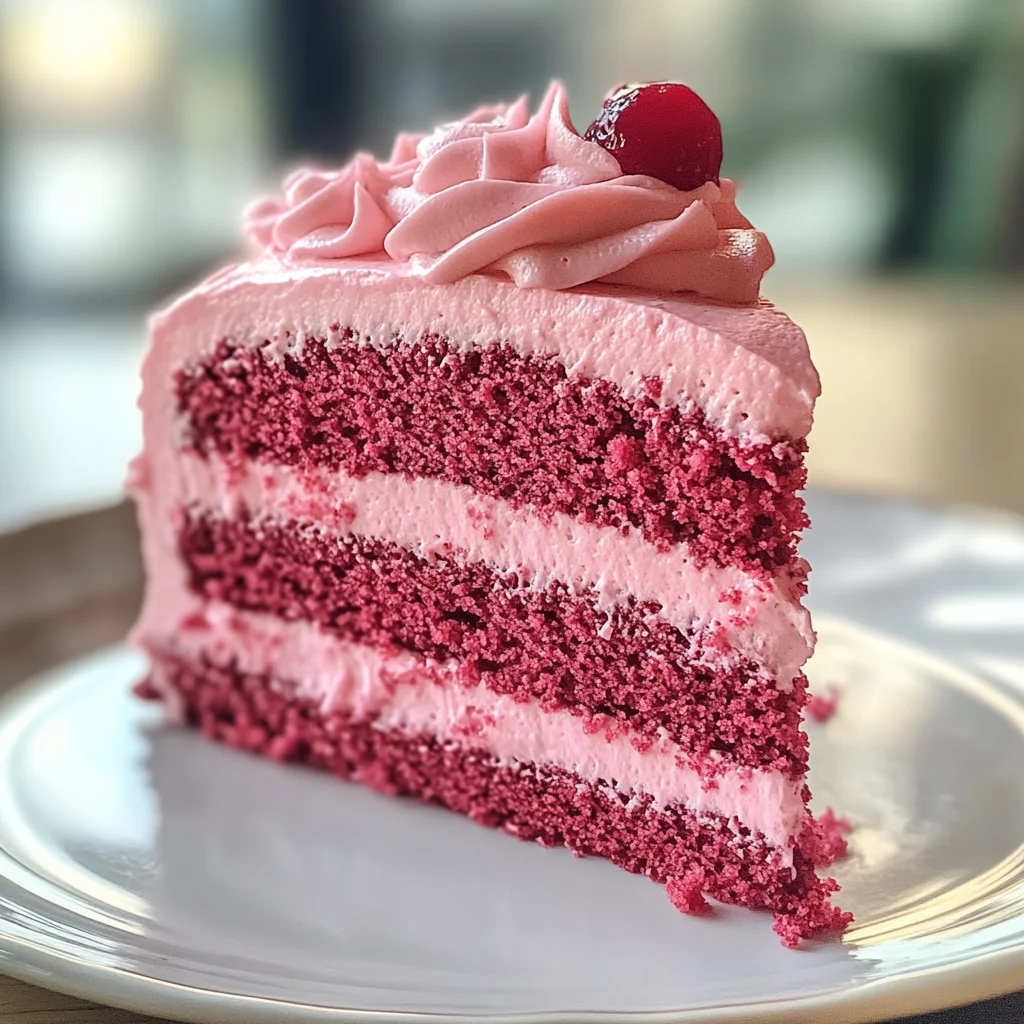
Make Ahead and Storage
This Mother’s Day Pink Velvet Cake is perfect for meal prep, making it easy to enjoy delicious slices throughout the week or to impress guests at a gathering.
Storing Leftovers
- Allow the cake to cool completely before storing.
- Place the cake in an airtight container at room temperature for up to 3 days.
- If frosted, keep it refrigerated for up to 5 days to maintain freshness.
Freezing
- Wrap each layer of cake tightly in plastic wrap and then in aluminum foil.
- Freeze for up to 3 months.
- For best results, freeze the cake layers before frosting.
Reheating
- To reheat individual slices, microwave on low power for about 15-20 seconds.
- If you prefer a warm slice without the microwave, let it come to room temperature and then heat briefly in the oven at 350°F (175°C) for about 10 minutes.
FAQs
Here are some common questions that might pop up while making this delightful cake!
Can I make this Mother’s Day Pink Velvet Cake in advance?
Absolutely! You can prepare and freeze the cake layers ahead of time. Just frost them after thawing for a fresh taste.
How should I store my Mother’s Day Pink Velvet Cake?
Store your cake in an airtight container. It stays fresh at room temperature for a few days or longer if refrigerated.
Can I substitute ingredients in this recipe?
Yes! You can use yogurt instead of buttermilk or add almond extract for extra flavor. Get creative with your toppings too!
Is this cake suitable for special dietary needs?
This recipe is free from pork, alcohol, and animal-derived gelatin, making it suitable for various dietary preferences.
Final Thoughts
I hope you feel inspired to whip up this beautiful Mother’s Day Pink Velvet Cake! It’s not just about the taste; it’s about creating sweet moments with loved ones. Enjoy every step of the baking process, and remember—this cake is a celebration of love that brings everyone together. Happy baking!
Mother’s Day Pink Velvet Cake
Indulge in the enchanting flavors of Mother’s Day Pink Velvet Cake, a delightful dessert that adds a touch of elegance to any celebration. With its soft and fluffy layers infused with cocoa and vanilla, this cake is perfect for honoring the special women in your life. Topped with creamy cream cheese frosting, each slice is not only a visual treat but also a delicious experience that will create lasting memories. Whether it’s for Mother’s Day, birthdays, or just a sweet treat, this cake is sure to impress.
- Prep Time: 20 minutes
- Cook Time: 30 minutes
- Total Time: 50 minutes
- Yield: Serves approximately 12 slices 1x
- Category: Dessert
- Method: Baking
- Cuisine: American
Ingredients
- 2 ½ cups cake flour
- 1 ¾ cups granulated sugar
- ½ cup unsweetened cocoa powder
- ¾ cup unsalted butter, softened
- 4 large eggs
- 1 cup buttermilk (or yogurt)
- 2 tsp pure vanilla extract
- Red food coloring (to achieve desired pink hue)
- Cream cheese frosting (for topping)
Instructions
- Preheat oven to 350°F (175°C) and grease two 9-inch round cake pans.
- In a bowl, whisk together cake flour, cocoa powder, baking powder, and salt.
- In another bowl, cream softened butter and sugar until light and fluffy.
- Beat in eggs one at a time until well incorporated.
- Mix in buttermilk, vanilla extract, and red food coloring until combined.
- Gradually fold in the dry ingredients until smooth.
- Divide batter between prepared pans and bake for 25-30 minutes or until a toothpick comes out clean.
- Allow cakes to cool before frosting with cream cheese frosting.
Nutrition
- Serving Size: 1 serving
- Calories: 350
- Sugar: 35g
- Sodium: 200mg
- Fat: 15g
- Saturated Fat: 9g
- Unsaturated Fat: 6g
- Trans Fat: 0g
- Carbohydrates: 50g
- Fiber: 2g
- Protein: 4g
- Cholesterol: 60mg

