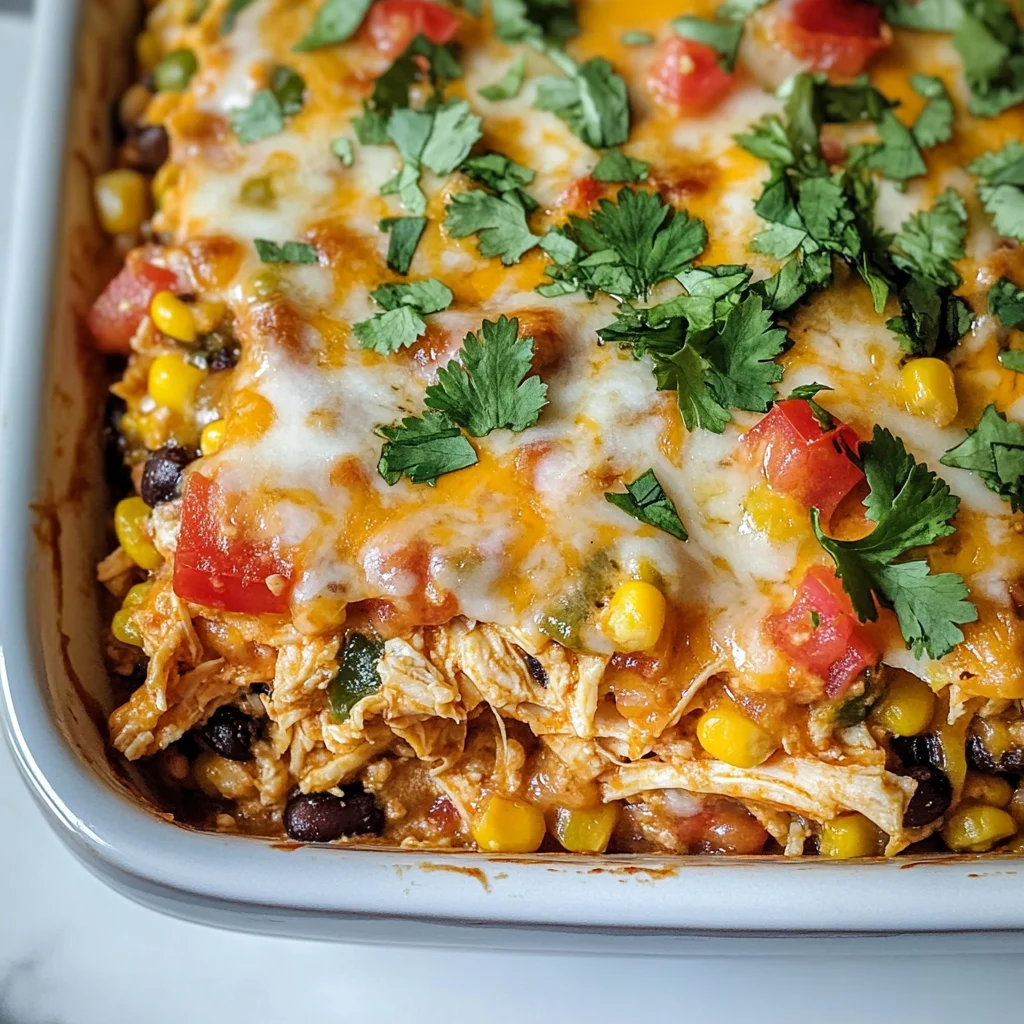
Chicken Burrito Casserole
If you’re looking for a cozy weeknight dinner that the whole family will love, then this Chicken Burrito Casserole is just what you need! It’s packed with flavor, protein, and veggies, making it a nourishing choice that doesn’t skimp on taste. This casserole is like a warm hug on a plate, perfect for busy evenings or even family gatherings where everyone can dig in and enjoy.
What makes this recipe special is its versatility and ease of preparation. With simple ingredients you likely have on hand, it’s a dish that can be whipped up quickly and baked to perfection. Whether you’re meal prepping for the week or serving up something hearty after a long day, this Chicken Burrito Casserole is sure to become a favorite in your home.
Why You’ll Love This Recipe
- Quick to prepare: With just 10 minutes of prep time, you can easily throw this casserole together and let the oven do the work.
- Family-friendly: Kids love cheesy casseroles! This dish combines all their favorite flavors in one delicious meal.
- Meal prep hero: Make it ahead of time and store it in the fridge. It reheats wonderfully for easy lunches or dinners later in the week.
- Flavor-packed: The combination of spices brings out a zesty flavor that makes every bite satisfying.
- Nutrient-rich: Loaded with protein, fiber, and colorful veggies, this casserole keeps everyone feeling full and energized.
Ingredients You’ll Need
Let’s gather our simple ingredients! This chicken burrito casserole features wholesome elements that come together beautifully. Here’s what you’ll need:
Fresh Veggies
- 1/2 red onion, diced
- 1 red bell pepper, diced
- 1 jalapeño, minced
Grains & Beans
- 1 cup dry long-grain white rice, basmati or jasmine
- 14oz can black beans, strained and rinsed
- 1 cup corn kernels, frozen
Spices & Seasonings
- 2 tablespoons chili powder
- 1 teaspoon garlic powder
- 1 teaspoon cumin
- 1/2 teaspoon oregano
- 1/2 teaspoon sea salt
Protein & Broth
- 450g cooked chicken, shredded (6 cups or 3 chicken breasts)
- 3 1/2 cups chicken broth
Other Essentials
- 1 tablespoon olive oil
- 2 tablespoons tomato paste
- 150 grams Monterey Jack or Havarti cheese, grated
- Fresh cilantro, to serve
- Green onion, to serve
Variations
One of the best parts about this Chicken Burrito Casserole is how flexible it is. You can easily swap out ingredients based on what you have or prefer. Here are some fun ideas:
- Swap the protein: Use shredded turkey or even chickpeas for a vegetarian option.
- Add more veggies: Toss in zucchini, spinach, or black olives to boost the nutrition and flavor.
- Make it spicy: If you like heat, add more jalapeños or some chopped chipotle peppers in adobo sauce for an extra kick.
- Cheese choices: Try different cheeses like pepper jack for some spice or a dairy-free alternative if needed.
How to Make Chicken Burrito Casserole
Step 1: Preheat the Oven
Start by preheating your oven to 400°F. This ensures that your casserole cooks evenly and thoroughly. If you’re using raw chicken, pop those breasts in now for about 25 minutes until they are cooked through.
Step 2: Mix Your Veggies and Rice
In a large baking dish (I recommend using one that measures about 9 x 13 inches), combine the diced onion, bell pepper, minced jalapeño, rice, chili powder, garlic powder, cumin, oregano, and salt. Stir everything together well! This mix creates the flavorful base that makes your casserole sing.
Step 3: Prepare the Broth Mixture
In another bowl or measuring cup, whisk together the chicken broth, tomato paste, and olive oil until smooth. This mixture adds moisture and richness to your casserole—don’t skip it!
Step 4: Combine Everything
Pour your broth mixture into the baking dish with the rice and veggie mix. Give it all a good stir so everything is nicely combined. Then add in your shredded chicken along with black beans and corn. A final stir helps to incorporate all those lovely layers of flavor.
Step 5: Bake It Up
Cover your baking dish tightly with aluminum foil to keep all those delicious juices inside. Bake in the preheated oven for about 50-60 minutes until most of the liquid is absorbed. Keep an eye on it toward the end!
Step 6: Add Cheese
Once cooked through, carefully take off the foil and sprinkle grated cheese over the top. Return it to the oven for another 5-10 minutes until that cheese melts beautifully and turns golden brown.
Step 7: Serve It Up
After taking it out of the oven (be careful—it’ll be hot!), let your casserole cool slightly before serving. Garnish with fresh cilantro and green onions for an extra pop of color and flavor!
Now you have a hearty Chicken Burrito Casserole ready to enjoy! It’s comforting enough to savor during family dinners yet easy enough for those busy nights when you need something quick but delicious. Enjoy every bite!
Pro Tips for Making Chicken Burrito Casserole
Making the perfect Chicken Burrito Casserole is all about the little details! Here are some pro tips to ensure your dish turns out delicious every time.
-
Use Fresh Ingredients – Opt for fresh vegetables and herbs to enhance the flavor of your casserole. Fresh produce adds brightness and a vibrant taste that frozen or canned options simply can’t match.
-
Customize Your Spice Level – Adjust the amount of jalapeño based on your heat preference. If you’re cooking for a crowd with varying tastes, consider serving hot sauce on the side to let everyone spice it up to their liking.
-
Let It Rest Before Serving – Allowing your casserole to sit for about 10 minutes after baking lets it set up a bit, making it easier to serve and enhancing the flavors as they meld together.
-
Experiment with Cheese – While Monterey Jack and Havarti are fantastic choices, feel free to mix in some pepper jack cheese for an extra kick or use a dairy-free cheese alternative if you prefer.
-
Make It Ahead – This casserole is great for meal prep! You can assemble it a day in advance, cover it tightly in the fridge, and bake it when you’re ready to eat. Just add a few extra minutes to the baking time if it’s coming directly from the fridge.
How to Serve Chicken Burrito Casserole
When it’s time to serve your Chicken Burrito Casserole, presentation can make all the difference. Here are some ideas that will elevate your dish!
Garnishes
- Fresh Cilantro – A sprinkle of chopped cilantro not only adds a pop of color but also brings a fragrant freshness that perfectly complements the flavors.
- Sliced Green Onion – Adding some thinly sliced green onion gives an extra crunch and mild onion flavor that brightens up each bite.
- Sour Cream or Yogurt – A dollop of sour cream or Greek yogurt provides creaminess and balances out the spices in the dish beautifully.
Side Dishes
- Simple Green Salad – A light salad with mixed greens, cherry tomatoes, and a zesty vinaigrette creates a refreshing contrast to the hearty casserole.
- Guacamole and Tortilla Chips – Creamy guacamole paired with crunchy tortilla chips adds another layer of flavor and texture, making for a fun appetizer before digging into the main dish.
- Mexican Street Corn (Elote) – Grilled corn on the cob slathered with lime juice, chili powder, and dairy-free cheese makes a deliciously sweet and spicy side.
- Spanish Rice – A side of lightly seasoned Spanish rice complements the burrito flavors perfectly while providing an additional serving of carbohydrates.
Enjoy your Chicken Burrito Casserole with these delightful garnishes and sides for an unforgettable meal experience!
Make Ahead and Storage
This Chicken Burrito Casserole is perfect for meal prep! Not only does it save you time during a busy week, but it’s also a dish that gets better with time as all the flavors meld together beautifully.
Storing Leftovers
- Allow the casserole to cool completely before storing.
- Transfer leftovers to an airtight container.
- Store in the refrigerator for up to 3-4 days.
Freezing
- Cool the casserole completely before freezing.
- Cut into individual portions for easy reheating later.
- Wrap tightly in plastic wrap and then place in a freezer-safe container or bag.
- Freeze for up to 3 months.
Reheating
- Thaw in the refrigerator overnight before reheating if frozen.
- Reheat in the microwave or oven until heated through (about 20 minutes at 350°F if using the oven).
- Ensure it’s heated to an internal temperature of 165°F before serving.
FAQs
Here are some common questions about this delicious Chicken Burrito Casserole:
Can I make Chicken Burrito Casserole ahead of time?
Absolutely! This casserole is ideal for meal prep and can be assembled a day in advance. Just store it covered in the fridge and bake when you’re ready.
How do I store Chicken Burrito Casserole leftovers?
Store any leftovers in an airtight container in the refrigerator for up to 3-4 days. For longer storage, consider freezing portions.
What can I substitute for chicken in Chicken Burrito Casserole?
You can use shredded turkey, cooked lentils, or even sautéed vegetables like zucchini or mushrooms for a vegetarian option.
Is Chicken Burrito Casserole gluten-free?
Yes! This recipe is gluten-free as it uses rice instead of flour tortillas. Just ensure that your ingredients, like broth and beans, are certified gluten-free.
Final Thoughts
I hope you enjoy making this Chicken Burrito Casserole as much as I do! It’s not only delicious but also versatile, making it perfect for family dinners or meal prep. The combination of flavors and textures will surely delight your taste buds. I can’t wait to hear how yours turns out—happy cooking!
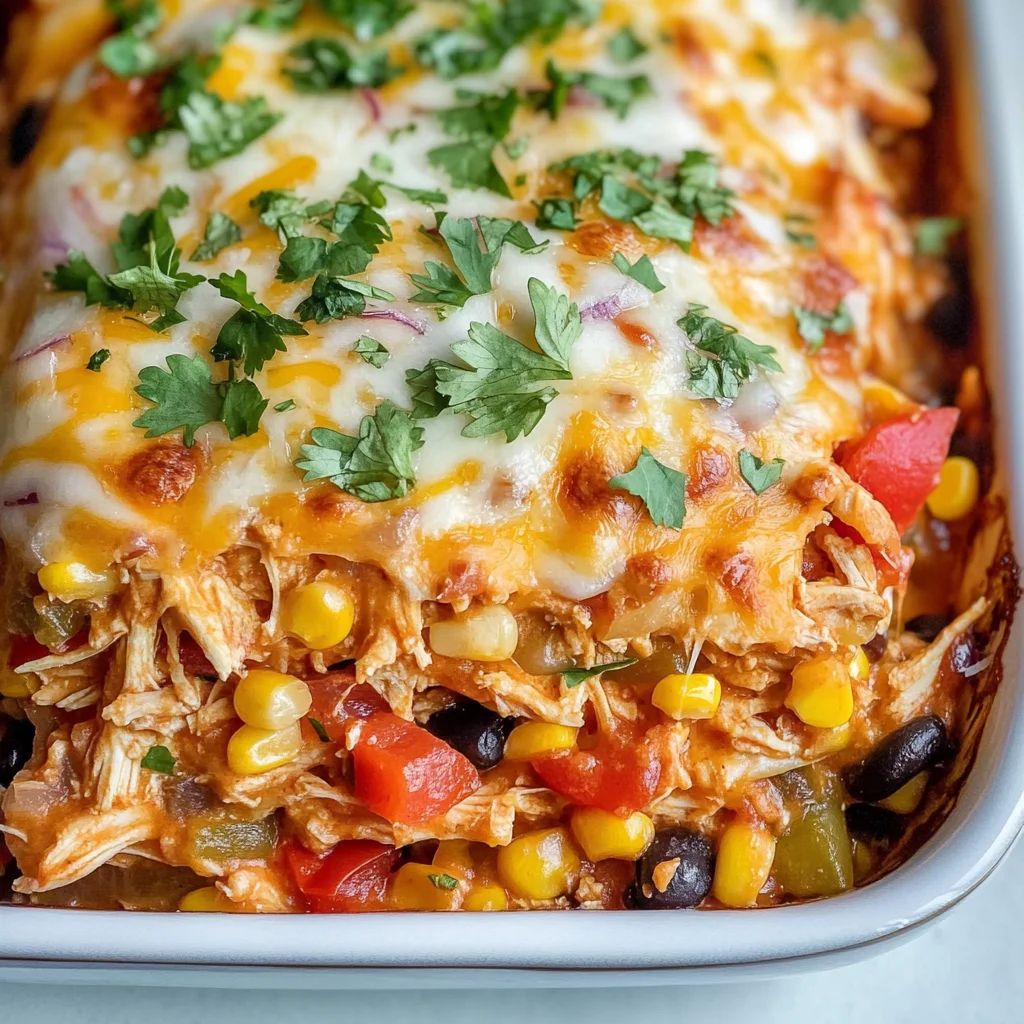
Chicken Burrito Casserole

If you’re seeking a comforting and hearty dinner, look no further than this Chicken Burrito Casserole. Packed with tender shredded chicken, aromatic spices, vibrant veggies, and gooey cheese, it delivers all the flavors of your favorite burrito in a simple casserole form. Perfect for busy weeknights or family gatherings, this dish is a crowd-pleaser that everyone will love. With just 10 minutes of prep time and a straightforward baking process, you can enjoy a nourishing meal that’s both delicious and satisfying. Plus, this casserole is easily customizable; feel free to add extra veggies or swap proteins to make it your own. Serve it up hot, topped with fresh cilantro and green onions for an extra burst of flavor!
- Prep Time: 10 minutes
- Cook Time: 60 minutes
- Total Time: 1 hour 10 minutes
- Yield: Serves approximately 6 people 1x
- Category: Main
- Method: Baking
- Cuisine: Mexican
Ingredients
- 1/2 red onion, diced
- 1 red bell pepper, diced
- 1 jalapeño, minced
- 1 cup dry long-grain white rice
- 14oz can black beans, drained and rinsed
- 450g cooked chicken, shredded
- 3 1/2 cups chicken broth
- 150 grams Monterey Jack or Havarti cheese, grated
- 1 tablespoon olive oil
- 2 tablespoons tomato paste
- 2 tablespoons chili powder
- 1 teaspoon garlic powder
- 1 teaspoon cumin
- 1/2 teaspoon oregano
- 1/2 teaspoon sea salt
Instructions
- Preheat the oven to 400°F.
- In a large baking dish (9 x 13 inches), combine diced onion, bell pepper, minced jalapeño, rice, chili powder, garlic powder, cumin, oregano, and salt.
- In another bowl, whisk together the chicken broth, tomato paste, and olive oil until smooth.
- Pour the broth mixture over the rice and veggie mix in the baking dish. Stir well to combine.
- Add shredded chicken along with black beans and corn; mix again.
- Cover the dish tightly with aluminum foil and bake for about 50-60 minutes.
- After cooking through, remove foil and sprinkle grated cheese on top. Return to oven for an additional 5-10 minutes until cheese is melted.
Nutrition
- Serving Size: 1 serving
- Calories: 420
- Sugar: 3g
- Sodium: 820mg
- Fat: 15g
- Saturated Fat: 7g
- Unsaturated Fat: 8g
- Trans Fat: 0g
- Carbohydrates: 49g
- Fiber: 8g
- Protein: 26g
- Cholesterol: 65mg